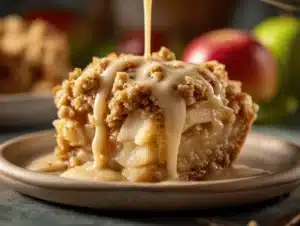
The aroma of bubbling caramel mingling with tender apples and crisp oats? That’s the magic of these irresistible caramel apple crumb bars. I’ll be honest—this recipe snuck into my kitchen one autumn afternoon when I had a surplus of apples and a craving for something cozy yet simple. You know how some desserts just feel like a hug in bar form? That’s exactly what these caramel apple crumb bars deliver.
I’ve tinkered with this recipe more times than I can count, swapping out apples, tweaking the oat crumble, and—let’s face it—sometimes doubling the caramel layer (because, why not?). The result is a bar that hits all the sweet spots: gooey caramel, tart apples, and a golden oat topping that practically begs for a cup of coffee or cider on the side.
Whether you’re baking for a fall potluck, after-school treat, or just to satisfy your own sweet tooth, these caramel apple crumb bars are my go-to. They’re a crowd-pleaser for picky eaters and a favorite among my family (my kids have requested them for breakfast more than once—no judgment here!). The oat crumble topping has just the right crunch, and the caramel apple filling? Let’s just say it’s worth licking the spoon.
So, if you want a dessert that’s easy, comforting, and loaded with autumn flavor, this caramel apple crumb bars recipe with oat crumble topping checks every box. Grab your favorite apples and let’s turn a simple dessert into something you’ll crave all year round.
Why You’ll Love This Recipe
- Quick & Easy: These caramel apple crumb bars come together in under an hour—perfect for busy days or last-minute dessert needs.
- Simple Ingredients: No hard-to-find items; you probably have everything in your pantry right now. Apples, oats, flour, butter, and caramel sauce—classic and convenient.
- Perfect for Any Occasion: I’ve brought these to brunches, picnics, and even holiday dinners. They’re a hit wherever they go!
- Crowd-Pleaser: Kids devour them, adults sneak seconds (I’ve seen it happen). They disappear fast—be warned!
- Unbelievably Delicious: The combo of tart apples, buttery oat crumble, and gooey caramel is pure comfort food. It’s the kind of dessert that makes you close your eyes after the first bite.
What makes this caramel apple crumb bars recipe stand out? Honestly, it’s the balance. I blend the oats just enough for a crisp topping but keep the base tender. My secret is mixing both brown sugar and granulated sugar for depth, plus a pinch of cinnamon to warm things up. The caramel layer isn’t just an add-on—it seeps into the apples, making every bite sticky-sweet.
If you’ve tried other apple bars before, you’ll notice this version is less fussy and more forgiving. The oat crumble isn’t just a topping—it’s also the base, making it hearty and easy to slice. I’ve tested dozens of variations, and this one always wins in texture and flavor. It’s comfort food reimagined: a little healthier, a lot faster, but just as satisfying.
Whether you’re an experienced baker or just starting out, you’ll appreciate how reliably scrumptious these bars turn out. They’re the kind of treat that brings people together, and honestly, isn’t that what baking is all about?
Ingredients Needed
This recipe uses simple, wholesome ingredients to deliver bold flavor and satisfying texture without the fuss. Most of these are pantry staples, and you can easily swap a few items based on your preferences or dietary needs.
- For the Oat Crumble & Base:
- 2 cups (200g) old-fashioned rolled oats (adds hearty texture, not quick oats)
- 1 1/2 cups (190g) all-purpose flour (or substitute gluten-free blend)
- 1 cup (200g) light brown sugar, packed (for richness)
- 1/2 cup (100g) granulated sugar (balances flavor)
- 1 tsp ground cinnamon (optional, but highly recommended)
- 1/2 tsp salt
- 1 cup (225g) unsalted butter, melted and slightly cooled
- 1 tsp pure vanilla extract
- For the Apple Filling:
- 4 medium apples, peeled, cored, and chopped (about 3 cups/400g; use Granny Smith for tartness or Honeycrisp for sweetness)
- 2 tbsp (16g) all-purpose flour (helps thicken the filling)
- 1/4 cup (50g) light brown sugar
- 1 tsp ground cinnamon
- 1/4 tsp ground nutmeg (optional, for warmth)
- 1 tbsp (15ml) lemon juice (prevents browning)
- For the Caramel Layer:
- 3/4 cup (200g) caramel sauce (store-bought or homemade; I love Trader Joe’s Salted Caramel Sauce)
Substitution Tips: For gluten-free bars, swap the flour for a 1:1 gluten-free blend. Dairy-free? Use coconut oil instead of butter and a vegan caramel sauce. Need it lower in sugar? Reduce the brown sugar in the filling and use a sugar-free caramel.
When apples are in season, use the freshest you can find—the flavor is unbeatable. In winter, I’ve swapped in pears or frozen apple slices (thawed and drained). The oat crumble is forgiving, so feel free to add chopped nuts or seeds if you’re feeling adventurous.
Honestly, this recipe is all about flexibility. As long as you keep the main ratios, you’ll end up with bars that taste like autumn in every bite.
Equipment Needed
- 8×8-inch (20x20cm) baking pan (or a 9×9-inch—just reduce baking time a little)
- Mixing bowls (at least two; one for crumble, one for apples)
- Rubber spatula or wooden spoon (for stirring and spreading)
- Measuring cups and spoons (accuracy matters in baking!)
- Small saucepan (for homemade caramel, if you go that route)
- Peeler and sharp knife (for prepping apples)
- Parchment paper (for easy removal—don’t skip this!)
If you don’t have a proper baking pan, I’ve used a casserole dish in a pinch. Just keep an eye on the baking time. For mixing, any sturdy bowl works—no need for fancy stand mixers. If your spatula is on its last leg (like mine was for years), a big spoon will do. And trust me, parchment paper is your friend; it makes slicing and serving so much easier. For budget-friendly equipment, check local discount stores—my favorite pan came from a thrift shop and still gets regular use.
Maintenance tip: If you use a nonstick pan, avoid metal utensils. Scratches mess with the finish (learned that the hard way). Clean up is a breeze if you line the pan—no more stuck-on caramel!
Preparation Method
-
Prep the Pan: Line your 8×8-inch (20x20cm) baking pan with parchment paper, leaving an overhang on two sides for easy lifting. Preheat your oven to 350°F (175°C).
Tip: Nonstick spray under the parchment helps it stay in place. -
Make the Oat Crumble: In a large bowl, combine 2 cups (200g) rolled oats, 1.5 cups (190g) flour, 1 cup (200g) brown sugar, 1/2 cup (100g) granulated sugar, 1 tsp cinnamon, and 1/2 tsp salt. Stir to blend.
Pour in 1 cup (225g) melted butter and 1 tsp vanilla extract. Mix until crumbly but moist.
Note: If mixture feels dry, add 1-2 tbsp milk or water. It should clump easily when squeezed. -
Press the Base: Reserve about 1 1/2 cups (200g) of the crumble for topping. Press the rest evenly into the bottom of your prepared pan.
Time: About 2 minutes—press firmly for a sturdy base. -
Prepare the Apple Filling: In a separate bowl, toss chopped apples (3 cups/400g) with 2 tbsp (16g) flour, 1/4 cup (50g) brown sugar, 1 tsp cinnamon, 1/4 tsp nutmeg, and 1 tbsp (15ml) lemon juice.
Tip: Apples should be evenly coated. If apples are extra juicy, sprinkle in an extra tablespoon of flour. -
Layer the Apples: Spread apple mixture evenly over the pressed oat base.
Sensory cue: Apples should form a thick, juicy layer—don’t worry if they mound up a bit. -
Add the Caramel: Drizzle 3/4 cup (200g) caramel sauce over the apples. Use a spatula to spread if needed.
Warning: If caramel is too thick, warm it slightly in the microwave (10-15 seconds) to make pouring easier. -
Finish with Crumble: Sprinkle reserved oat crumble evenly over the caramel apple layer.
Tip: Press down lightly for bigger, crunchier clusters. -
Bake: Slide pan into oven and bake for 35-40 minutes, or until the top is golden brown and you see bubbling at the edges.
Time: Check at 30 minutes—if topping browns too quickly, tent with foil.
Sensory cue: You’ll smell sweet apples and caramel as it nears done! -
Cool Completely: Remove from oven and let pan cool on a wire rack for at least 1 hour. Don’t rush—bars firm up as they cool.
Warning: Cutting too soon leads to messy slices (I’ve made this mistake—patience pays off!). -
Slice & Serve: Lift bars from pan using parchment. Cut into 16 squares.
Efficiency tip: Use a sharp chef’s knife and wipe between cuts for neat edges.
If bars seem loose, chill in the fridge for 30 minutes before slicing. For extra sparkle, dust with powdered sugar just before serving. And honestly, save those crumbly edges—they’re the cook’s treat!
Cooking Tips & Techniques
After making these caramel apple crumb bars a dozen times, I’ve learned a few tricks the hard way. First, don’t skimp on the parchment paper. The caramel gets sticky and you’ll regret trying to pry bars out of an unlined pan. Trust me, I’ve scraped more than one dessert off a baking dish!
For the oat crumble, blend the butter in until you see pea-sized clumps. Bigger clusters make a crunchier topping. If you want an extra crispy finish, broil the bars for 1-2 minutes at the end—but watch closely, as oats burn fast.
Don’t overbake. If the topping is golden and the filling is bubbling, it’s ready. Leaving it in too long dries out the base and hardens the caramel. If your apples are super juicy, toss them with a little extra flour to avoid soggy bars.
If you’re multitasking (kids running around, dinner on the stove), prep the crumble and apple filling ahead. Both can chill in the fridge for a few hours. Assembly is quick, and you can pop the pan in the oven right before guests arrive.
Consistency is key: measure flour by spooning it into the cup, not scooping. This keeps the base tender, not dry. And for the caramel, warm it gently before using—cold caramel can tear the crumble and clump instead of spreading. If you’re making homemade caramel, let it cool to room temp for best layering.
Common mistake? Not cooling the bars before slicing. I know, it’s hard to wait! But warm bars fall apart. Let them set, and you’ll get clean, bakery-worthy squares every time.
Variations & Adaptations
One of the coolest things about these caramel apple crumb bars is how easily you can tweak them. Here are some favorite ways I’ve switched things up (and a few mistakes I learned from):
- Gluten-Free: Swap the all-purpose flour for a 1:1 gluten-free blend. I’ve tried Bob’s Red Mill and King Arthur—they both work great.
- Vegan: Use coconut oil for the butter and pick up a dairy-free caramel sauce (I’ve made my own with coconut milk and brown sugar—delicious!).
- Nutty Crunch: Add 1/2 cup (60g) chopped walnuts or pecans to the crumble for extra texture. Toast them first for best flavor.
- Berry Twist: In summer, swap half the apples for chopped strawberries or blueberries. The caramel still works, but the flavor is brighter.
- Spiced Up: Stir 1/2 tsp cardamom or ginger into the apple filling for a bolder taste. I tried this on a whim—instant hit with my spice-loving friends!
- Lower Sugar: Reduce the sugar in the filling and use unsweetened applesauce instead of some apples. The bars will still be sweet, but a bit lighter.
If you’re dealing with allergies, use sunflower seed butter instead of caramel for a nut-free, school-friendly treat. And honestly, my favorite personal twist is tossing in a handful of dried cranberries with the apples—adds a tangy pop that balances the sweet caramel.
Don’t be afraid to experiment. These bars forgive small changes and always reward creativity!
Serving & Storage Suggestions
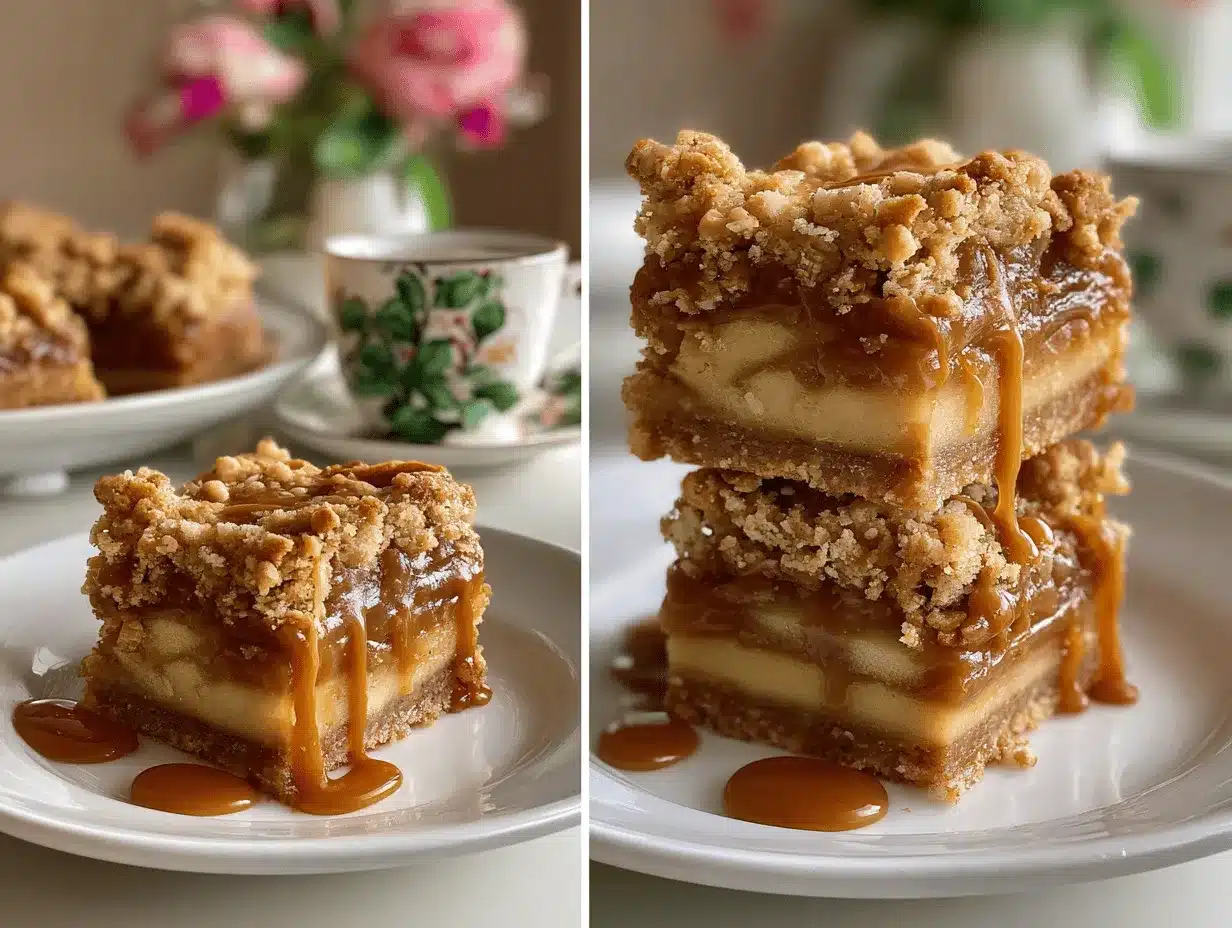
These caramel apple crumb bars taste best at room temperature, when the caramel is soft and the oat topping is crisp. For presentation, I love stacking them on a rustic wooden board with a drizzle of extra caramel and a sprinkle of flaky salt—looks like you spent hours, but it’s fuss-free.
Serve with hot apple cider, coffee, or even a scoop of vanilla ice cream for dessert. If you’re hosting brunch, pair with fresh fruit or yogurt for a sweet start to the day.
To store, keep bars in an airtight container at room temp for 2 days. For longer storage, pop them in the fridge—up to 5 days. They freeze well too: wrap individually and store for up to 2 months. Thaw overnight in the fridge, then bring to room temp before serving.
Reheat bars in the microwave for 10-15 seconds (individual pieces), or warm a tray in the oven at 300°F (150°C) for 10 minutes. Flavors deepen over time—the apples and caramel meld together, making leftovers even better!
Pro tip: If the oat topping softens in storage, a quick oven refresh brings back the crunch.
Nutritional Information & Benefits
Each caramel apple crumb bar (based on 16 bars) contains approximately:
- Calories: 210
- Fat: 8g
- Saturated Fat: 5g
- Carbohydrates: 34g
- Sugar: 20g
- Protein: 2g
- Fiber: 2g
Apples bring dietary fiber and vitamin C, while oats offer heart-healthy beta-glucans. Using whole oats means more texture and better nutrition. If you opt for less sugar or dairy-free swaps, it’s easy to customize for low-carb or vegan needs.
Potential allergens: wheat, dairy (from butter and caramel), and possible nuts if added. Always check caramel labels for hidden dairy or gluten.
Personally, I love knowing there’s real fruit and oats in every bite. It’s a dessert that feels just a little less guilty—and honestly, that’s good enough for me!
Conclusion
So, why should you try these caramel apple crumb bars? They’re easy, unfussy, and loaded with autumn flavor. The oat crumble topping and gooey caramel apple filling combine into a dessert that’s comforting, crave-worthy, and perfect for sharing.
Customize the recipe however you like—swap out fruit, play with spices, or go gluten-free. It’s forgiving, fun, and always delivers. Honestly, these bars remind me of fall days, cozy kitchens, and happy gatherings.
I hope you’ll make this recipe your own and share it with friends (or keep it all for yourself—no judgment!). Drop a comment below if you try a twist, share with fellow dessert fans, and let me know your favorite apple combo. Happy baking—may your kitchen smell like caramel and apples all year long!
FAQs
Can I use store-bought caramel sauce?
Absolutely! Store-bought caramel works great. Just make sure it’s pourable and not too thick. If using homemade, let it cool to room temperature before drizzling.
Which apples are best for caramel apple crumb bars?
Granny Smith apples are my top pick for tartness, but Honeycrisp or Fuji add sweetness. You can mix and match for flavor depth.
How do I make these gluten-free?
Just replace the all-purpose flour with a 1:1 gluten-free flour blend. Make sure your oats are certified gluten-free too.
Can I make these bars ahead of time?
Yes! They actually taste better on day two. Prepare, bake, and store in an airtight container. Serve at room temp or reheat gently.
Can I freeze caramel apple crumb bars?
Definitely. Wrap each bar tightly in plastic wrap and freeze for up to 2 months. Thaw overnight in the fridge before serving.
Pin This Recipe!
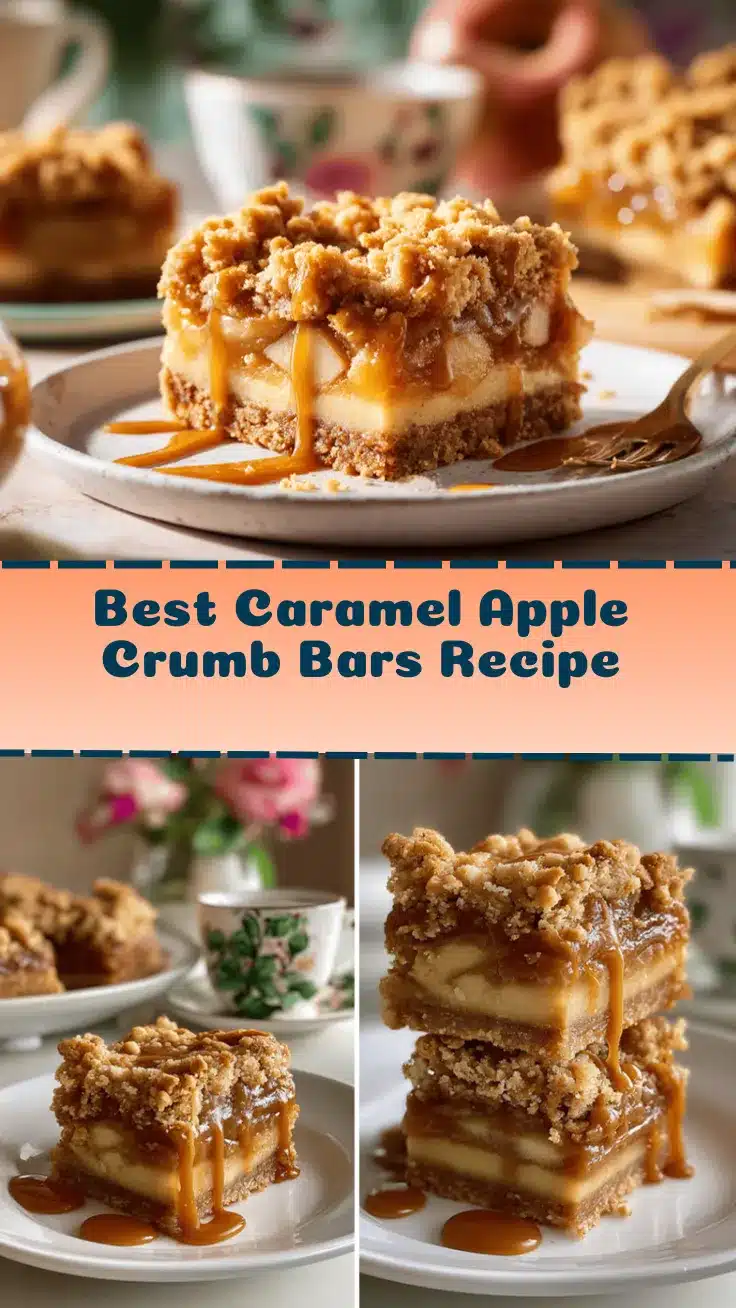
Caramel Apple Crumb Bars
- Total Time: 1 hour
- Yield: 16 bars 1x
Description
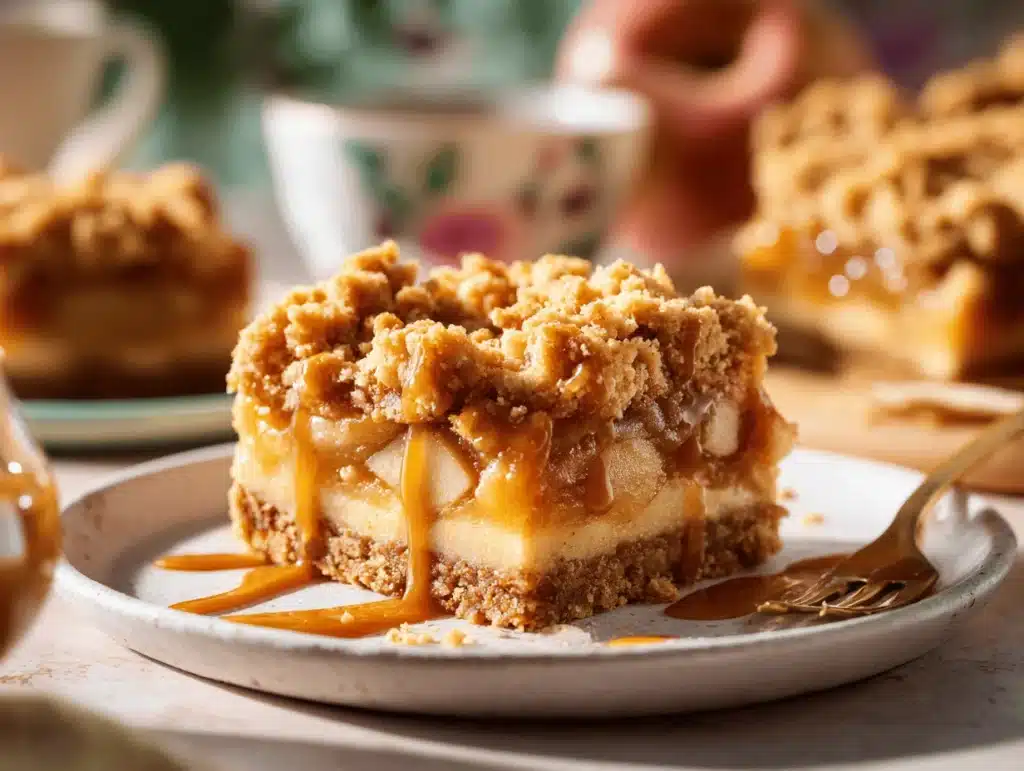
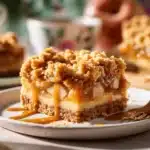
These caramel apple crumb bars feature a gooey caramel apple filling sandwiched between a buttery oat crumble base and topping. Easy to make and loaded with cozy autumn flavors, they’re perfect for sharing at potlucks or enjoying with coffee.
Ingredients
- 2 cups old-fashioned rolled oats
- 1 1/2 cups all-purpose flour (or gluten-free blend)
- 1 cup light brown sugar, packed
- 1/2 cup granulated sugar
- 1 tsp ground cinnamon
- 1/2 tsp salt
- 1 cup unsalted butter, melted and slightly cooled
- 1 tsp pure vanilla extract
- 4 medium apples, peeled, cored, and chopped (about 3 cups)
- 2 tbsp all-purpose flour
- 1/4 cup light brown sugar
- 1 tsp ground cinnamon
- 1/4 tsp ground nutmeg (optional)
- 1 tbsp lemon juice
- 3/4 cup caramel sauce (store-bought or homemade)
Instructions
- Line an 8×8-inch baking pan with parchment paper, leaving an overhang on two sides for easy lifting. Preheat oven to 350°F (175°C).
- In a large bowl, combine rolled oats, flour, brown sugar, granulated sugar, cinnamon, and salt. Stir to blend.
- Pour in melted butter and vanilla extract. Mix until crumbly but moist. If mixture feels dry, add 1-2 tbsp milk or water.
- Reserve about 1 1/2 cups of the crumble for topping. Press the rest evenly into the bottom of the prepared pan.
- In a separate bowl, toss chopped apples with flour, brown sugar, cinnamon, nutmeg, and lemon juice until evenly coated.
- Spread apple mixture evenly over the pressed oat base.
- Drizzle caramel sauce over the apples. Warm slightly if needed for easier pouring.
- Sprinkle reserved oat crumble evenly over the caramel apple layer. Press down lightly.
- Bake for 35-40 minutes, or until the top is golden brown and edges are bubbling. Check at 30 minutes and tent with foil if topping browns too quickly.
- Remove from oven and let cool on a wire rack for at least 1 hour.
- Lift bars from pan using parchment. Cut into 16 squares. For neat edges, use a sharp knife and wipe between cuts.
Notes
For gluten-free bars, use a 1:1 gluten-free flour blend and certified gluten-free oats. For vegan, substitute coconut oil for butter and use dairy-free caramel. Bars slice best when fully cooled. Add nuts or dried fruit for extra texture. Store at room temperature for 2 days, refrigerate up to 5 days, or freeze up to 2 months.
- Prep Time: 20 minutes
- Cook Time: 40 minutes
- Category: Dessert
- Cuisine: American
Nutrition
- Serving Size: 1 bar
- Calories: 210
- Sugar: 20
- Sodium: 80
- Fat: 8
- Saturated Fat: 5
- Carbohydrates: 34
- Fiber: 2
- Protein: 2
Keywords: caramel apple bars, oat crumble, apple dessert, fall baking, easy dessert, crumb bars, autumn recipe